
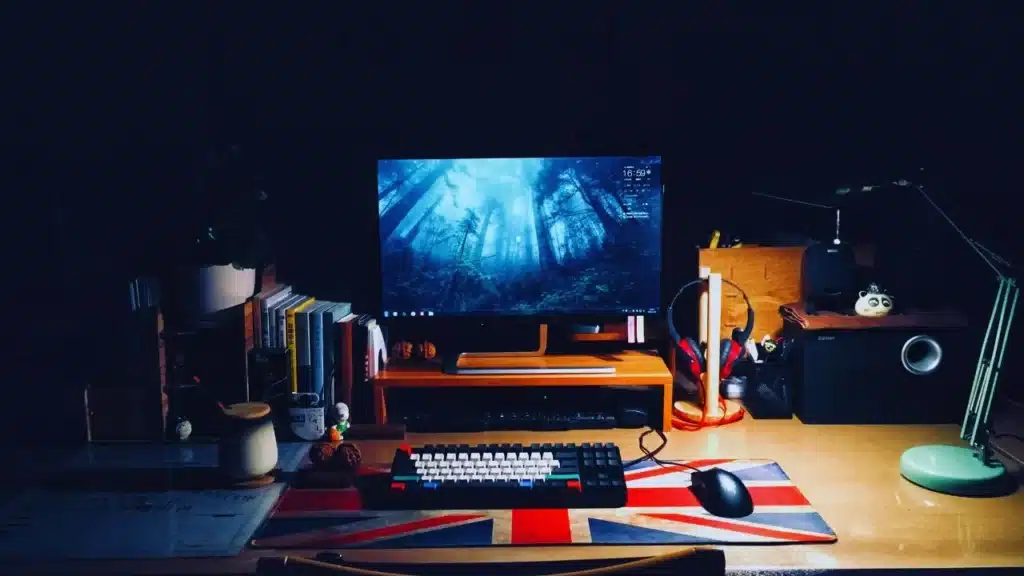
How to set up game streaming on PC Game streaming has quickly become a successful industry, attracting massive followings and prompting a new generation of content creators. Whether your ambition is to be a full-time streamer or merely cast gameplay to friends, a slick and dependable setup is paramount. A stuttering or lagging stream can kill the viewers with ease. To avoid this, you must optimize your PC for performance before you click “Go Live.” This tutorial breaks down everything hardware and software into best settings. After that, you will go live with a silky smooth high-quality stream.
Learning the Basics for Smooth Game Streaming
How to set up game streaming on pc. Diving into the tools and techniques, let’s explore what you’ll need to ensure a seamless stream. Smooth performance depends on various elements—hardware, internet connection, and software configuration all play significant roles.
Selecting the Top PC Streaming Software
How to set up game streaming on PC. When your equipment is in prime operating order, software comes next as your second choice. Your streaming platform will affect the quality of your stream as well as the efficiency of your productivity.
Top Options for Streaming Software
Open Broadcaster Software, or OBS Studio, is free and open-source, making it perfect for customization and add-ons.
Streamlabs OBS (SLOBS): Not as complicated to grasp for newcomers but more processor-heavy.
XSplit Broadcaster: Premium features; full-level functionality requires a membership.
Twitch Studio: Twitch-specific; easy to use but not as flexible.
NVIDIA ShadowPlay: Built into NVIDIA GPUs, low performance overhead.
Each has its uses, but streamers love OBS Studio because it is flexible and suitable for both amateur and professional users.
Downloading and Installing OBS Studio
For the sake of this guide, we’ll proceed with setup on OBS Studio, which is offered on all the main platforms and contains very advanced customization options.
Installation and Basic Configuration
Get the most recent version of OBS Studio for Windows, macOS, and Linux by going to the official website.
Execute the installer and proceed through the prompts to complete setup.
OBS will ask you if you want it to optimize for recording or streaming when you initially launch it.
Select “Stream Optimize” to allow OBS to automatically set up the optimal configuration for your PC.
Navigate to Settings > Stream and select your platform (e.g., Twitch, YouTube).
Paste your stream key from your platform’s control panel to connect OBS to your channel.
Setting Up Scenes and Sources for Your Stream
OBS uses scenes to contain different visual setups. Under each scene are sources, including your game, webcam, microphone input, overlays, etc.
Setting Up a Stream Layout:
New scene (e.g., “Gameplay Scene”).
Add the following sources:
Game Capture – takes the game window.
The entire monitor can be captured with Display Capture.
Webcam – use Video Capture Device.
Microphone – use Audio Input Capture.
Overlays/Alerts – via Image or Browser Source.
Setting Up Audio and Filters in OBS
How to set up game streaming on PC. Good audio is needed for a high-quality stream. Viewers will usually put up with a poor visual, but will lose a stream in very short time that has bad quality sound.
Setting Up Good Sound:
Use a USB or XLR microphone (Blue Yeti, Elgato Wave, or Rode NT-USB are good options)
Navigate to Settings > Audio within OBS and select your mic under Mic/Auxiliary Audio.
Add filters such as:
Noise Suppression
Noise Gate
Compressor
Choosing the Right Platform: Twitch vs YouTube vs Facebook Gaming
How to set up game streaming on PC. If you also intend to live-stream and set up a YouTube channel simultaneously, recording gameplay in addition to it is an excellent idea. OBS Studio enables you to record good-quality local clips while live-streaming on Twitch, YouTube, or elsewhere. Having two outputs will come in handy in that you can replay your content while producing montages, tutorials, or highlights. To do that, choose “Advanced” under Output Mode in the OBS options.Then, set various settings for recording and streaming. You can use various bitrates and even a different encoder like NVENC for streaming and x264 for recording.
Conclusion
Setting up game streaming on your computer need not be daunting. With the appropriate hardware, tailored settings, and some creativity, you can start streaming efficiently and professionally—even as a beginner. Just remember that great streams are not necessarily founded on performance; consistency, personality, and interaction are just as important.
From the basics of setup to audio refinement, overlays, and advanced setups, all the basics have been covered here. Now it is your turn—start that stream and make it sparkle!
FAQs
Q1: What is the most critical hardware component to guarantee glitch-free streaming?
A: The CPU usually is the most critical one, especially if you are utilizing the x264 encoder. Proper GPU and large RAM (16GB) also play a role.
Q2: Is a laptop sufficient for streaming?
A: Yes, as long as the laptop’s CPU/GPU is up to date and there is proper cooling. Downscale in-game settings and resolution to reduce stress.
Q3: Is a webcam necessary to stream games?
A: No, but it adds to viewer engagement. To establish a personal connection with their audience, the majority of professional streamers use a camera broadcast.
Q4: Why is OBS dropping frames?
A: Normal reasons include CPU/GPU overworked, slow upload rate, or poor bitrate and resolution setting.
Q5: Is it possible to stream 60 FPS on a low-spec PC?
A: Yes, if you’re encoding hardware (NVENC/AMD VCE) and OBS and game optimization settings. No animation and overlay heavyweight material.
Q6: What resolution should be streamed at?
A: 720p@60fps is a guarantee. If your hardware and connection can handle it, 1080p@60fps for higher quality.
Q7: What can I do to lower delay in my stream?
A: Turn on low latency modes on your platform (e.g., Twitch’s “Low Latency Mode”), use minimal buffer sizes, and stream from a hardwire connection.